Every course follows the same simple structure: a course contains modules, and each module contains items. An item is a lesson, a quiz, or an assignment. You build all of it in the course builder, which autosaves as you work and only shows learners what you publish.
Create a course
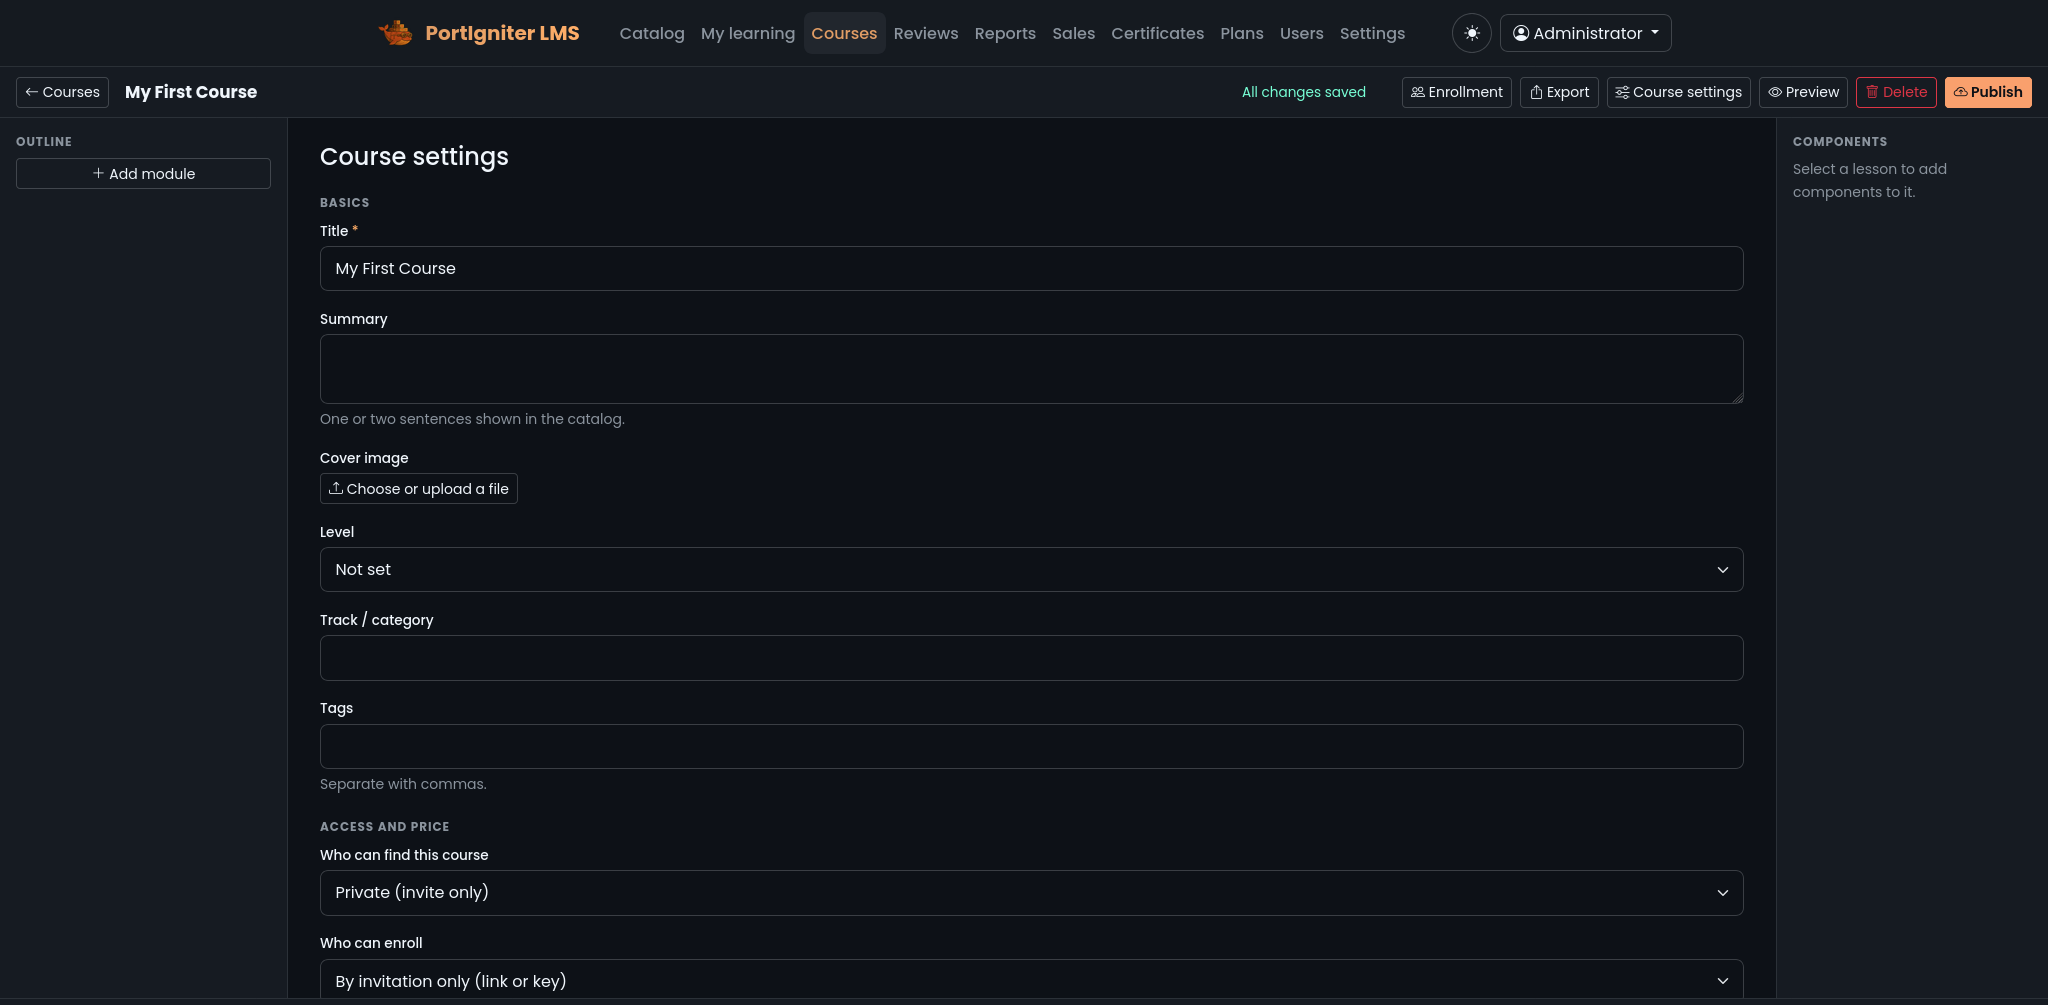
- Open Admin > Courses.
- Enter a Course title.
- Under Start with, choose A first module and lesson to get a ready-to-edit skeleton, or An empty course to start from nothing.
- Click Create. The course builder opens.
You can also Import a course from a zip on the same page. See Course Files.
The course builder
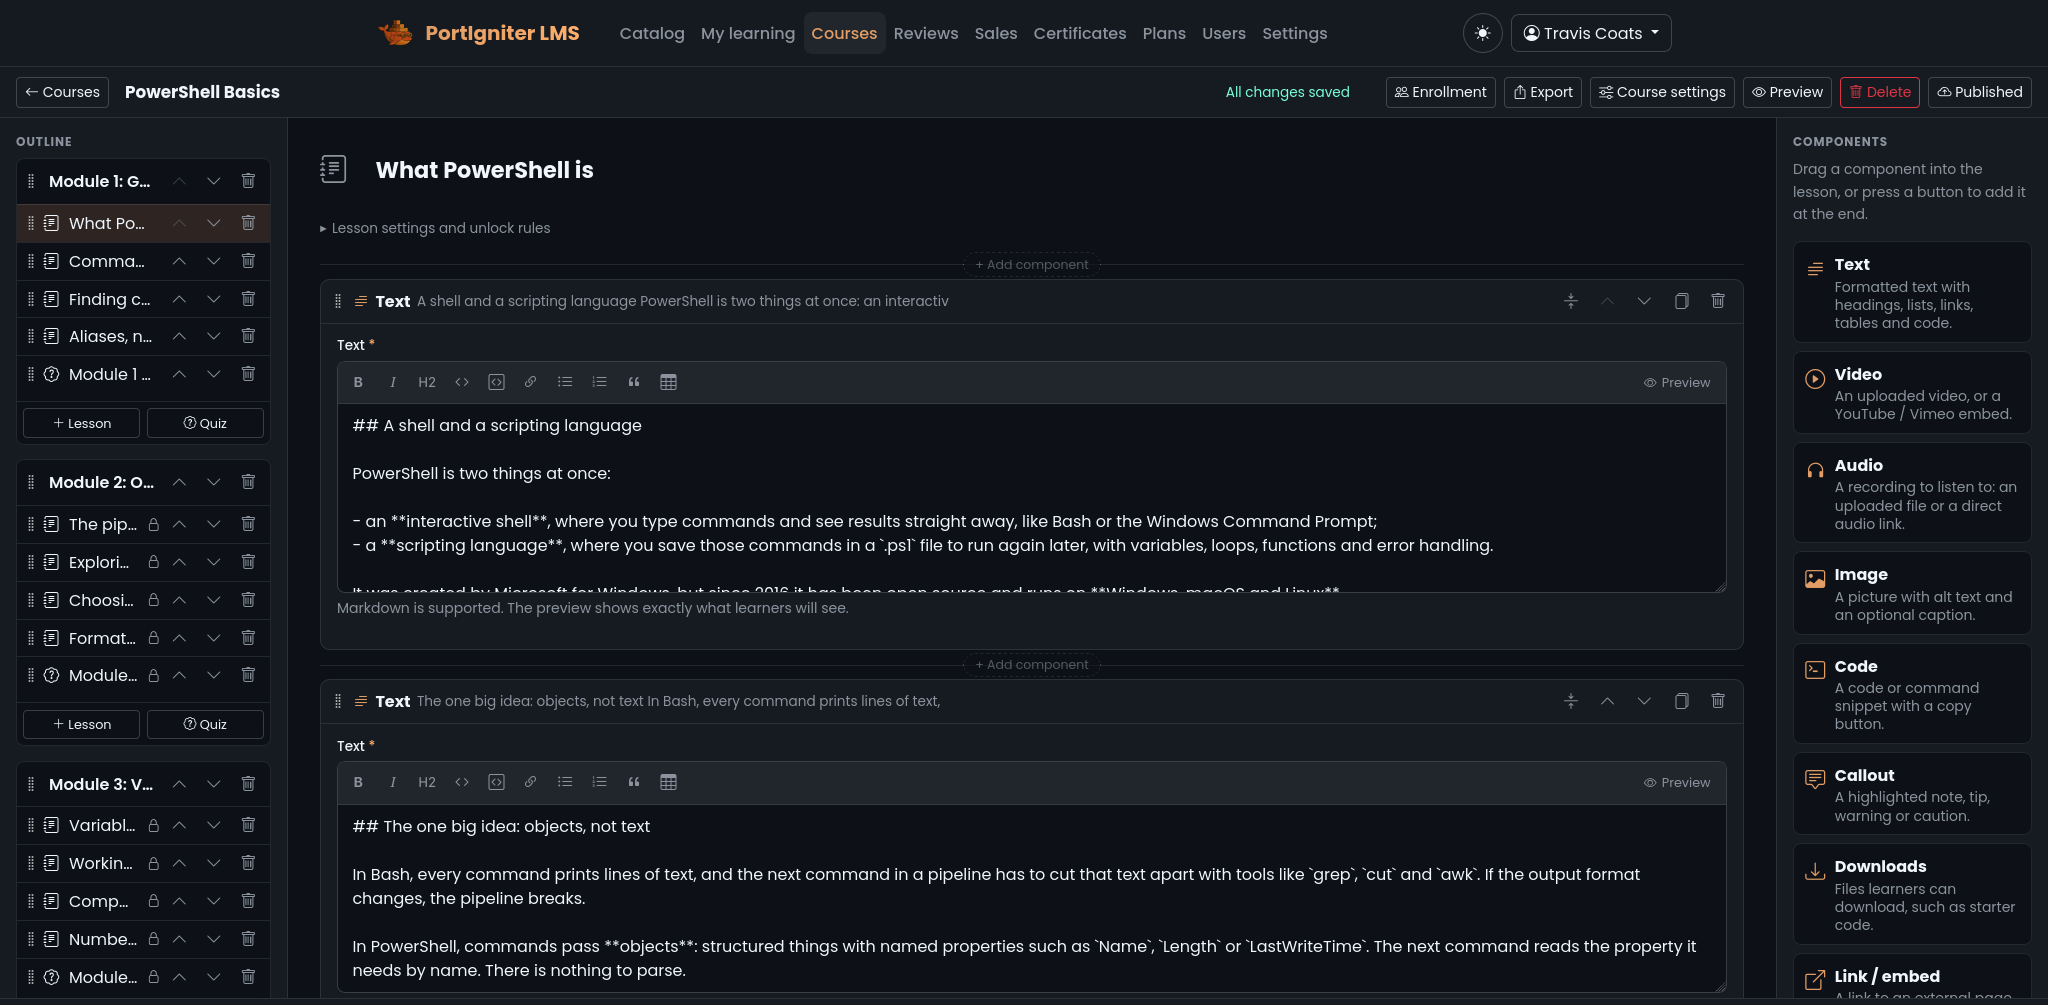
The builder has three parts:
- The outline lists your modules and items. Drag them to reorder, or use the move buttons if you prefer the keyboard. Add a New module, New lesson, New quiz, or New assignment from here.
- The editor shows the selected lesson’s blocks. Drag a component from the palette into place, or use the + insert menu between blocks. Each block can be duplicated, moved, or removed.
- The toolbar shows the save state and holds Course settings, Enrollment, Preview, Export, and Publish.
Autosave
The builder saves your changes a moment after you stop typing and shows All changes saved when it’s done. Every save is checked on the server, and any problem is described in plain language.
If someone else saved the same course while you were editing, the builder pauses editing and asks you to Reload. This keeps two people from silently overwriting each other’s work.
Preview as a learner
Click Preview to see the current draft exactly as learners will see it. Previewing never records progress, so you can click through freely.
Course settings
Click Course settings in the toolbar. Everything fits on one screen, and advanced options are collapsed until you need them.
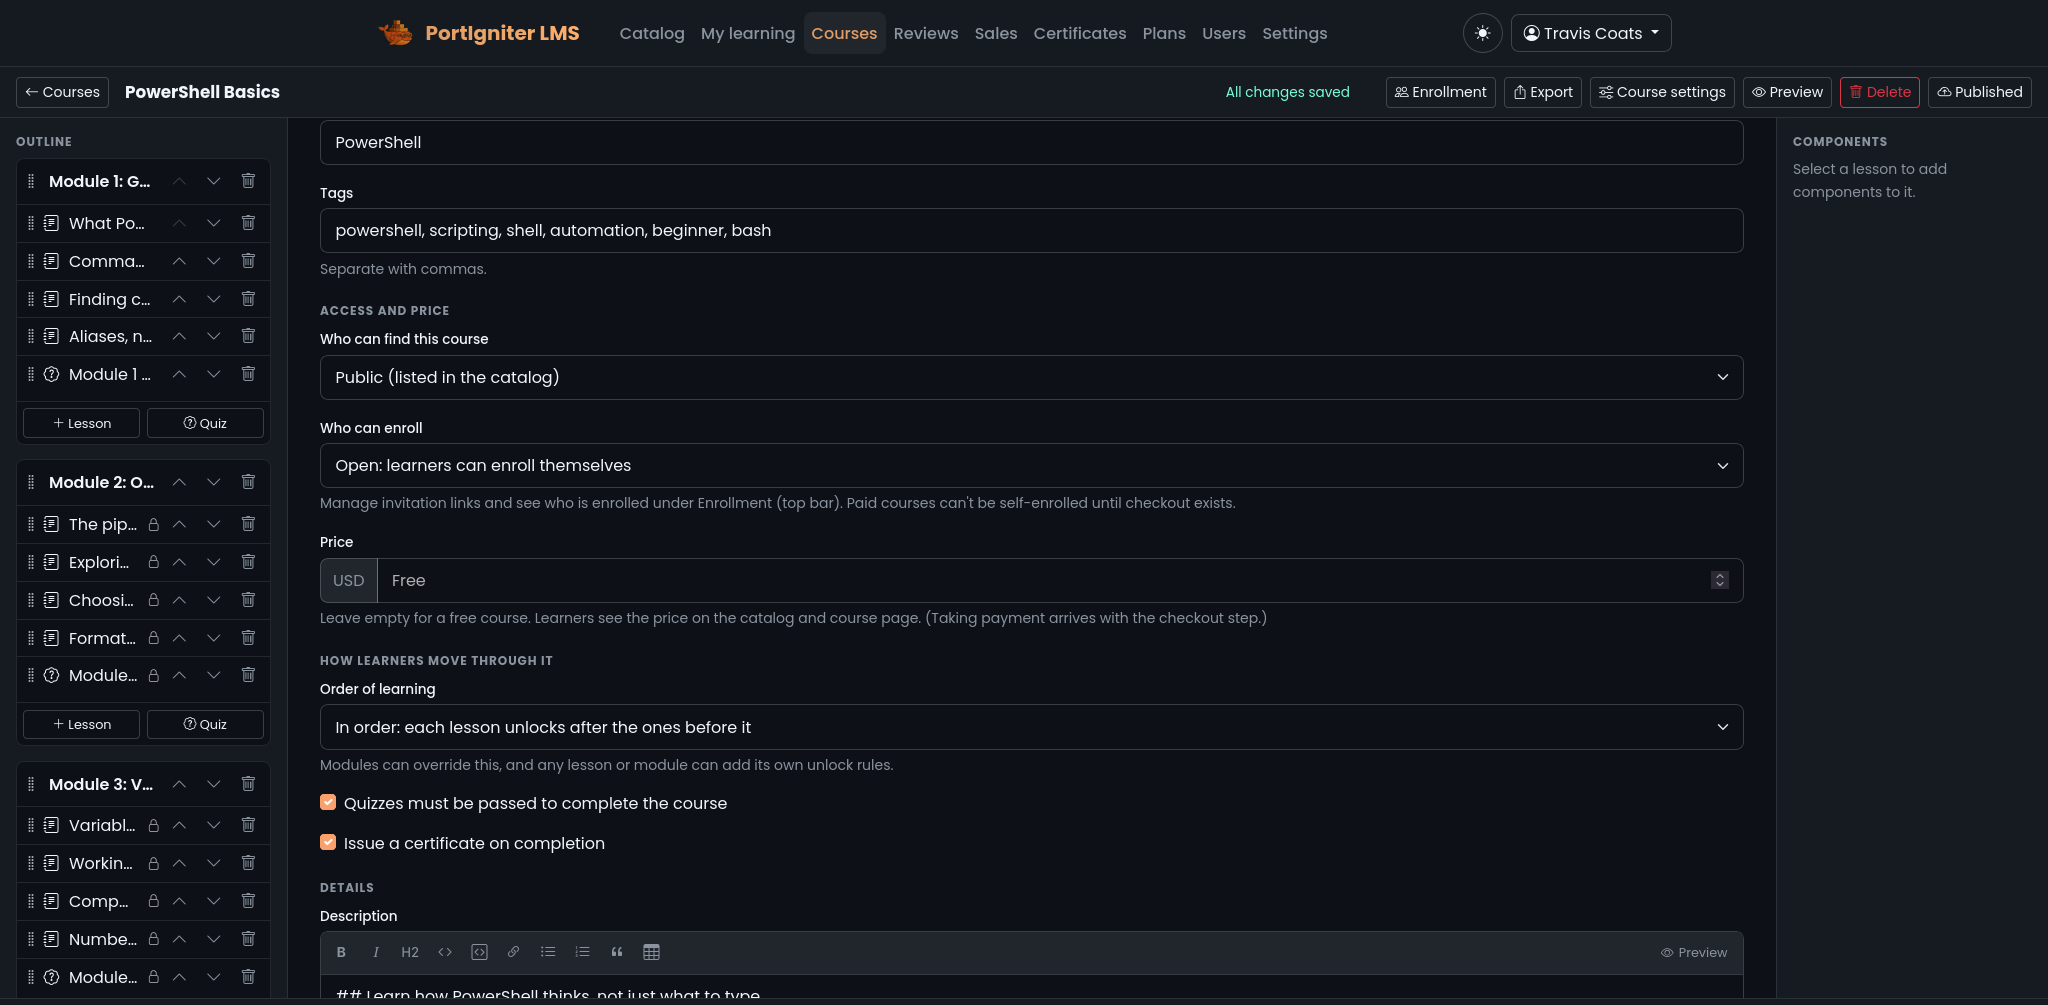
Basics
| Setting | What it does |
|---|---|
| Title | The course name, up to 120 characters. |
| Summary | One or two sentences shown on the catalog card. |
| Description | A longer Markdown description for the course page. |
| Cover image | The image shown on the catalog card and course page. |
| Level | Beginner, Intermediate, or Advanced. |
| Track / category | Groups courses into filter chips in the catalog. Reuse the exact same spelling across courses. |
| Tags | Keywords for the course. |
| Estimated minutes | The course length. Leave it blank to add up the lengths of its lessons and assignments. |
| Prerequisites | What learners should know or have installed first. |
Access and price
| Setting | Options |
|---|---|
| Who can find this course | Public courses are listed in the catalog. Unlisted courses have a course page but are reachable only by link. Private courses have no public page and are reached only from a learner’s dashboard. |
| Who can enroll | By invitation only means people join with an invitation link or key. Open lets any signed-in learner enroll themselves in a free course, or buy a paid one. |
| Price | Leave it blank or at zero for a free course. A price makes the course paid. See Selling Courses. |
| Access lasts (days) | Paid courses only. How long a purchase grants access. Leave it at Forever for lifetime access. Free courses never expire. |
See Enrollment & Access for how each path into a course works.
Order of learning
Choose how learners move through the course:
- Any order lets learners open any item at any time. This suits reference material.
- In order unlocks each item only after every required item before it is complete. This suits teaching flows.
Each module can follow the course setting or override it, so a single course can mix guided modules with a free-form reference section.
Review and completion
| Setting | What it does |
|---|---|
| Quizzes must be passed to complete the course | When on, a learner must reach each quiz’s pass mark before the course counts as complete. |
| Issue a certificate on completion | When on, learners receive a verifiable PDF certificate when they finish. See Certificates. |
Unlock rules
Any module or item can have unlock rules on top of the course’s order of learning. All of an item’s rules must be met before it opens.
| Rule | Unlocks when |
|---|---|
| Complete an item | A specific lesson, quiz, or assignment is complete. |
| Finish a module | Every required item in a module is complete. |
| Minimum percent on a quiz | The learner’s counted score on a quiz reaches the percentage you set. |
A locked item tells learners exactly why it is locked, such as “Complete ‘Installing Docker’ first” or “Score at least 70% on ‘Module 2 quiz’”. The rules are enforced on the server, so a locked item can’t be reached by URL.
The builder catches rule setups that would trap learners, such as an item waiting on itself or two items waiting on each other, and won’t publish until they’re fixed.
Required and optional items
Every item is Required to complete the course unless you turn that off. Optional items never block anyone, even in a course that runs in order, and don’t count against progress.
How items are completed
| Item | Completes when |
|---|---|
| Lesson | The learner clicks Mark complete, or, depending on the lesson’s setting, when they open it, watch its videos, or tick every lab step. See Lessons & Media. |
| Quiz | The learner reaches the pass mark. With no pass mark, any submitted attempt completes it. A later, worse attempt never takes completion away. |
| Assignment | A reviewer accepts it, or, if you choose, as soon as it is handed in. See Assignments & Reviews. |
A course is complete when every required item is complete.
Publish
Click Publish when you’re ready. PortIgniter LMS checks the entire course first: every referenced file exists, every quiz can draw the questions it asks for, every rule points at something real, and nothing is half filled in. If anything needs attention, the builder lists it under Fix these before publishing with a link to each problem.
After the first publish, the button reads Publish changes. Your edits stay in the draft until you click it, so you can work on a published course without learners seeing unfinished changes. Republishing never resets anyone’s progress.
To take a course offline, unpublish it from the toolbar.
Delete a course
Only administrators can delete courses. Click Delete in the builder toolbar, review the confirmation page, and type the course ID to confirm. The confirmation page shows how many learners are enrolled and offers to export the course first.
Deleting a course hides it everywhere, but nothing is erased. The course folder is moved aside, and its enrollments, progress, certificates, and payments stay in the database. The course ID becomes free to reuse for a new course, which does not inherit the old learners. There is no restore button yet. To bring a deleted course back, see Management Commands.
Next steps
- Lessons & Media covers every block type, including video and lab steps.
- Quizzes covers the quiz builder.
- Enrollment & Access covers getting learners into your course.